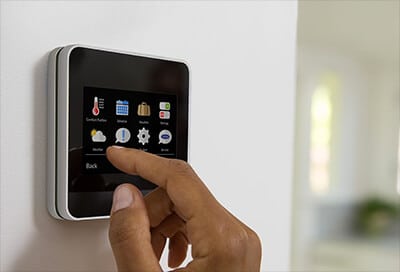
How to Install a Smart Thermostat.

Buying a smart thermostat is a great way to save money and efficiently heat and cool your home. Before buying one, make sure it’s compatible with your heating and cooling system. You can follow these steps to ensure that it’s properly installed.
Turn Your HVAC System Off
The first thing to do is go to your breaker panel and turn off your entire HVAC system. This will prevent shorting electrical components while you’re moving wires around. Check your HVAC system’s thermostat to make sure it doesn’t turn on.
Remove the Faceplate
Remove the thermostat’s faceplate. It should just pop off, but you may need to remove a screw. Label the wires with stickers before moving to the next step.
Remove the Backplate
You can remove the wires from the backplate by either unscrewing them or pressing small tabs to release them. Use a screwdriver to remove the backplate from the wall.
Add a C-Wire
If your existing thermostat doesn’t have a C-wire, one will need to be added for the smart thermostat. The smart thermostat may come with this wire, or you’ll need to buy one. If you’re uncomfortable performing this task, hire an HVAC company to do it for you.
Aircon Heating & Cooling Inc. in Las Cruces, NM installs smart thermostats. We have a wide range of Carrier thermostats that can fit your needs, but we know how to handle all makes and models.
Install New Backplate
Install the new backplate on the wall using a drill and screws. Pull the wires through the backplate before installing.
Reconnect the Wires
Connect the wires to the backplate. This is easy to do as long as you labeled them.
Install the New Faceplate
You can now snap the new faceplate onto the backplate. Once that is done, turn your HVAC system back on. You can now connect the smart thermostat to your Wi-Fi.
At Aircon Heating & Cooling Inc., we repair, replace, and maintain HVAC systems. We also have products and services to improve your home’s indoor air quality. Please call us today to schedule an appointment.
Tags: Smart Thermostat